Design And Inspiration
Best Countertop Materials to Pair With Polymer Outdoor Cabinets
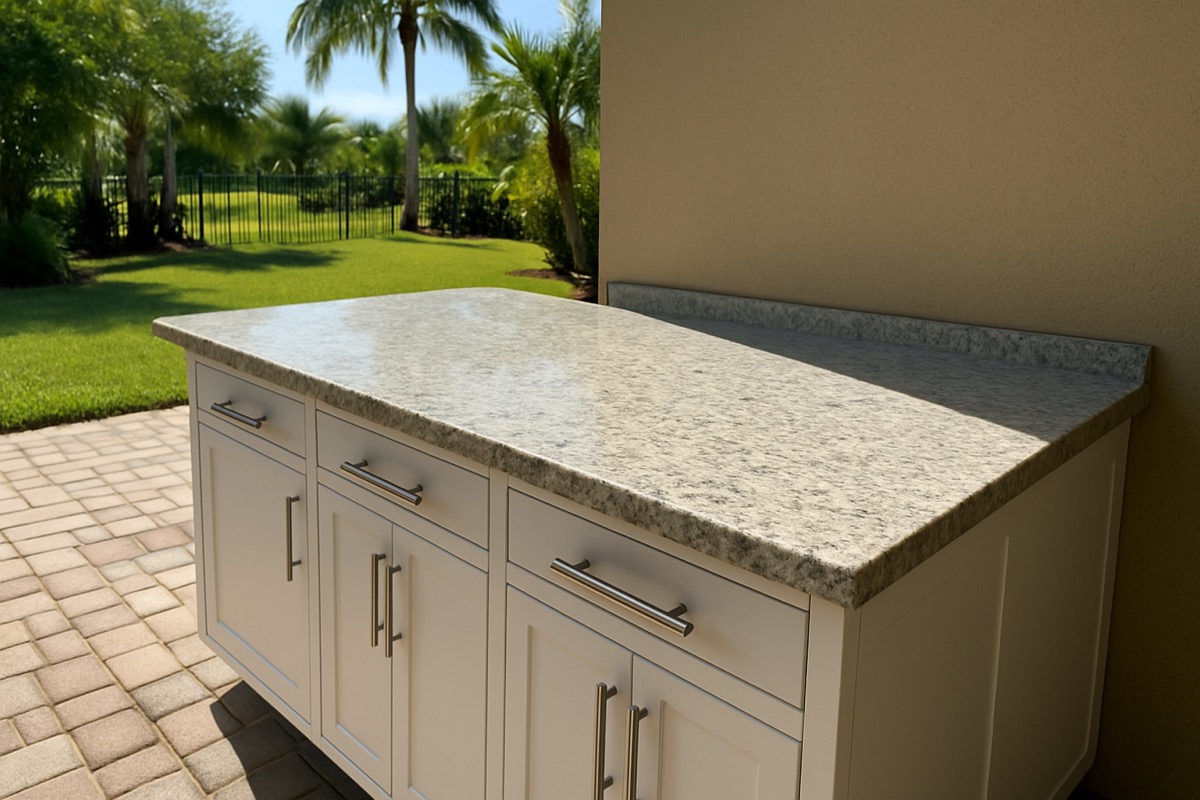
Your cabinets are weatherproof. Make sure your countertop is too. Here are the surfaces that pair best with polymer outdoor cabinets in Florida.

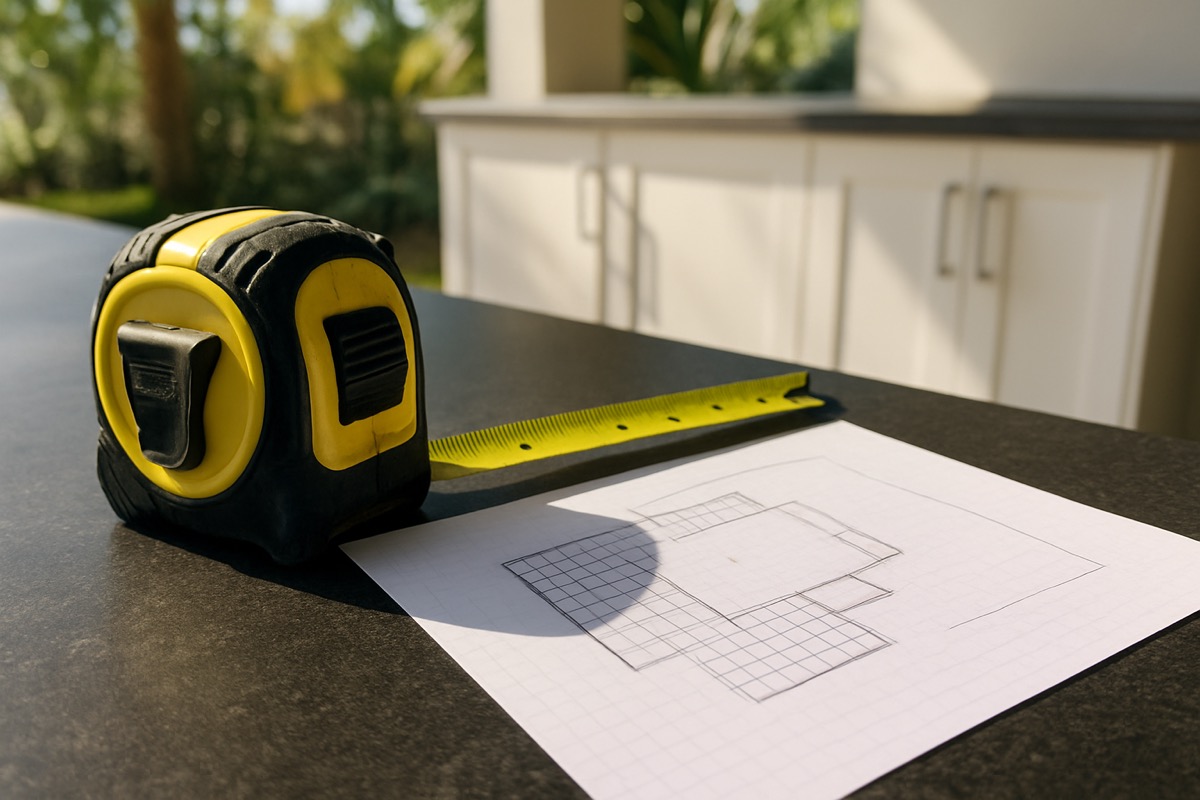
A great outdoor kitchen starts with accurate measurements. We have seen beautiful designs stall because a grill did not clear a corner or a run came up four inches short against a wall. Taking thirty careful minutes up front saves weeks later. Here is the measuring process we use with homeowners across Orlando and the surrounding suburbs, step by step, including the mistakes we correct most often.
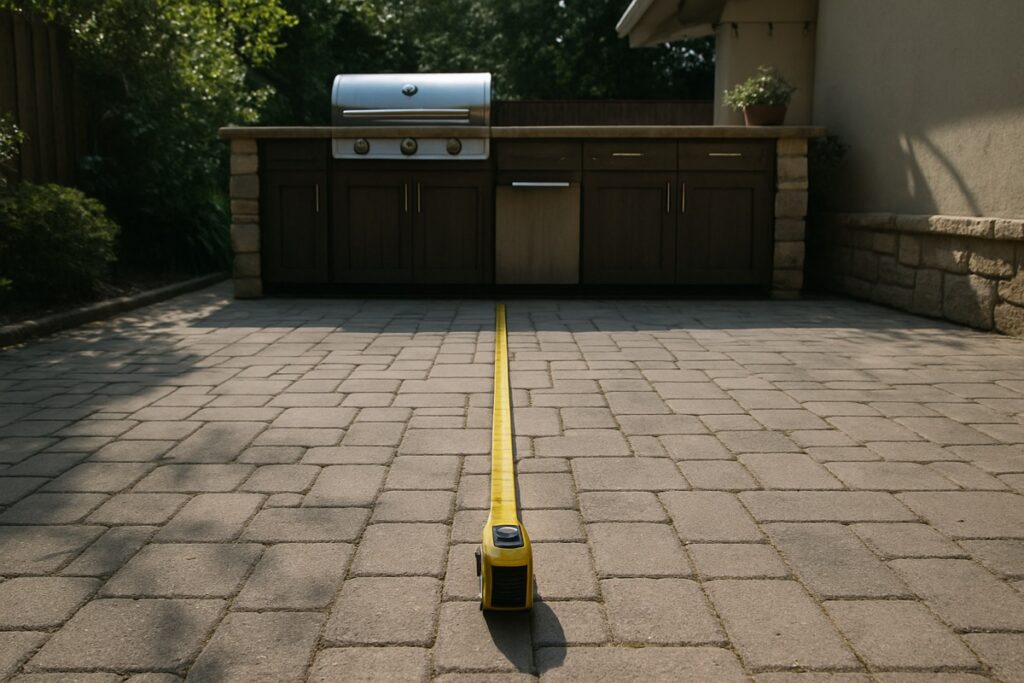
Sketch your patio or slab from above, then measure each wall and edge with a tape, writing the numbers directly on your sketch. Measure to the inch, not the foot, and measure each wall in two places, since outdoor slabs are rarely perfectly square. Note any fixed obstacles, including posts, downspouts, hose bibs, and the swing path of any doors. If your space is covered, measure the ceiling height too, because a vent hood and tall appliances need headroom. Photograph the space from a few angles as you go, so the numbers have context when you sit down to plan.
Cabinets do not exist in isolation. A built-in grill needs side clearance from combustible surfaces, and you want comfortable walking room in front of every run. As a rule of thumb, we plan for at least 36 to 42 inches of standing space in front of cabinets so two people can pass while someone is cooking. Corners need attention as well, since two cabinets meeting at 90 degrees can block a drawer or door from opening fully if the layout is tight. If your kitchen sits near a pool, leave room for the deck traffic that moves between the house and the water.
Mark where gas, water, and electrical lines enter the space, or where they would need to run. A sink cabinet has to reach a water supply and drain, and a grill needs either a gas line or room for a tank. Getting these locations on your sketch early prevents a redesign after you have fallen in love with a layout. If utilities are not in place yet, note where the nearest connection point is so your contractor can plan the runs. The distance from those connection points often shapes whether a straight run or an island makes more sense.
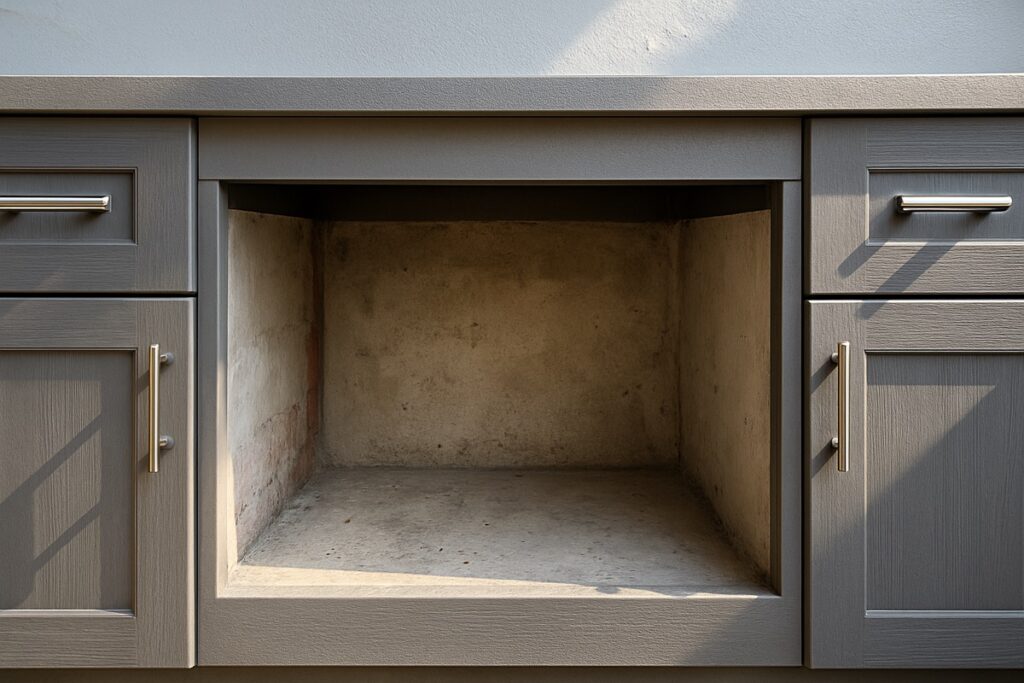
Appliances are the least flexible part of the plan, so we measure around them rather than forcing them to fit at the end. Pull the spec sheet for your grill, side burner, or refrigerator and record the cutout dimensions, not just the overall size. Cutout dimensions are what the cabinet actually has to accommodate, and they are usually smaller than the appliance’s outer footprint. Build the cabinet plan around those cutouts, then fill the remaining space with storage. This is the single most common place we correct a homeowner’s first sketch, because it is easy to plan for the box you see in the store rather than the opening it needs.
A few errors come up again and again. Measuring to the foot instead of the inch leaves runs short or long. Forgetting door swings and downspouts puts a cabinet where it cannot actually go. Planning around an appliance’s overall size instead of its cutout throws off the whole run. And skipping the clearance in front of the kitchen creates a beautiful space that feels cramped the moment two people are in it. None of these are hard to avoid once you know to look for them, which is exactly why we recommend a careful first pass and a second look before ordering.
Once you have a layout, add up the cabinet widths and confirm the total fits your measured run with a little breathing room. Outdoor slabs are rarely perfectly square, so leaving a small margin keeps the install clean. When you send us measurements, photos of the space alongside the numbers help us catch anything the tape missed. We would rather spend a few minutes reviewing a plan than have you discover a four-inch problem on install day.
You do not need a contractor’s kit to measure well, but a few simple tools make a real difference in accuracy. A 25-foot tape measure is enough for most patios and easier to manage alone than a longer one. A torpedo level or even a phone level app tells you whether your slab pitches, which is important because outdoor patios are usually built to drain water away from the house and that slope affects how cabinets sit. A roll of painter’s tape lets you mark cabinet edges and appliance cutouts right on the slab so you can stand back and see the layout at full scale before committing a single number to paper. We often suggest taping out the whole run on the patio and living with it for a day, walking through it the way you would while cooking. It is remarkable how often a plan that looked fine on paper reveals a pinch point the moment it is taped out at real size, and tape is far cheaper to move than a cabinet.
Almost every outdoor slab in Central Florida is built with a slight slope so rain runs off rather than pooling, and screened lanais are no exception. That slope is good for drainage but it means your cabinet run will need leveling, and you want to know about it before install day rather than during it. Set your level on the slab at each spot a cabinet will sit and note where the surface drops. A quarter-inch of fall across a run is common and easily handled with adjustable feet or shims; more than that is worth flagging so the plan accounts for it. The same goes for walls, which are rarely perfectly plumb or square in a real backyard. Measuring each wall at both the top and the bottom, and at both ends of the run, tells you whether you are working with a true rectangle or something that needs a small adjustment. Catching these realities on paper keeps install day calm.
Once the numbers are on your sketch, the next step is translating them into a cabinet plan, and the order of operations matters. Place your appliances first, using their cutout dimensions, since those openings are fixed and everything else flexes around them. Next, drop in the cabinets that have to land in a specific spot for utilities, such as the sink over the drain and the grill near the gas. Only then fill the remaining width with storage cabinets, trimming to standard sizes where you can and leaving a small margin at the end of the run so an out-of-square wall does not force a last-minute change. When you send the plan to us, include both the measured sketch and a few photos of the space from different angles. The photos let us spot context the numbers miss, a downspout, a step, a low soffit, so we can flag anything before it becomes a problem on the day the cabinets arrive.
Additional resource: For more on planning the overall footprint and layout your measurements will support, This Old House’s outdoor kitchen guide is a helpful independent reference.
How much space do I need for an outdoor kitchen? Even a compact L-shape works in about eight to ten linear feet of cabinetry, but the right number depends on the appliances you want and how many people cook at once.
Do I measure before or after choosing appliances? Choose appliances first, then measure around their cutouts. Appliance sizes are fixed; cabinets are flexible, so the plan should bend to the appliances.
What is the most common mistake? Planning around an appliance’s overall size instead of its cutout dimension. Always use the cutout from the spec sheet.
Can you help with measurements? Yes. Send your sketch and photos and we will review the plan before anything is ordered.
When your measurements are ready, browse the cabinet options, look through our completed projects for layout ideas, and reach out through our contact page or at (407) 887-0035. We are happy to sanity-check your plan for an Orlando outdoor kitchen before you order.
Your cabinets are weatherproof. Make sure your countertop is too. Here are the surfaces that pair best with polymer outdoor cabinets in Florida.
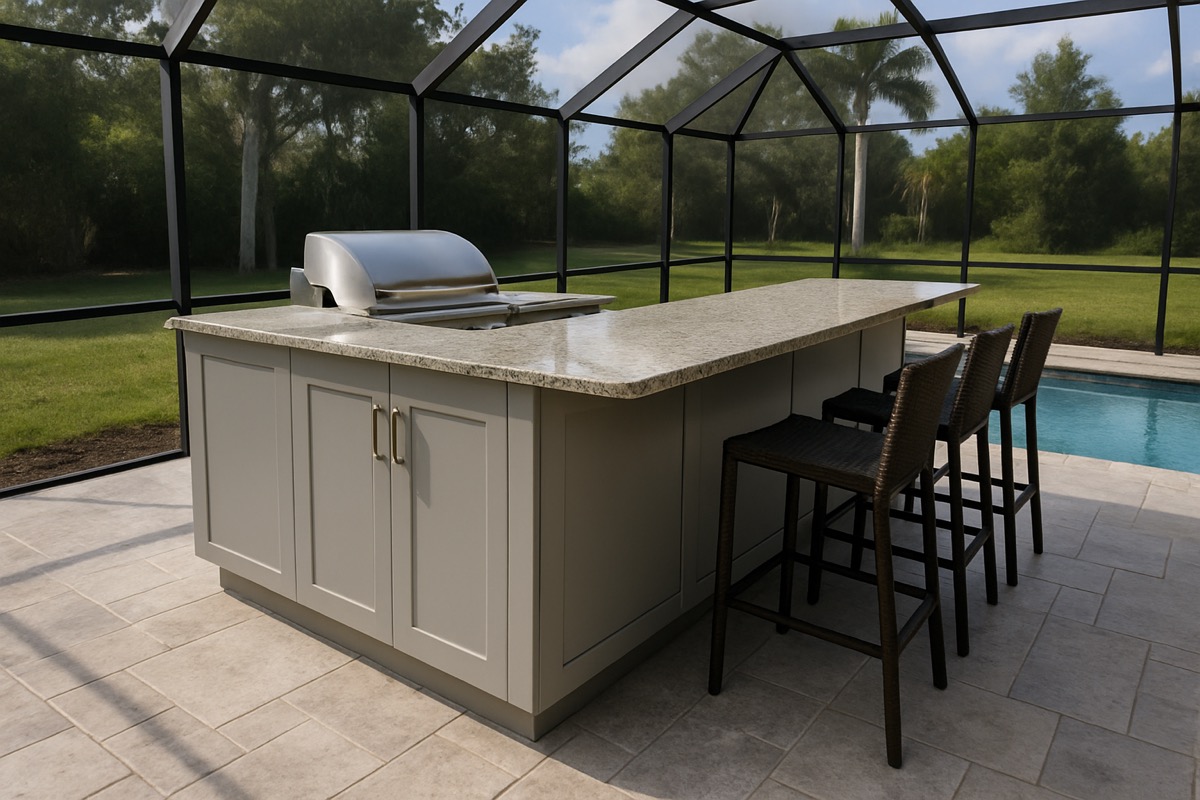
An island or a straight run against the wall? The right choice depends on your patio, your traffic, and how you entertain.
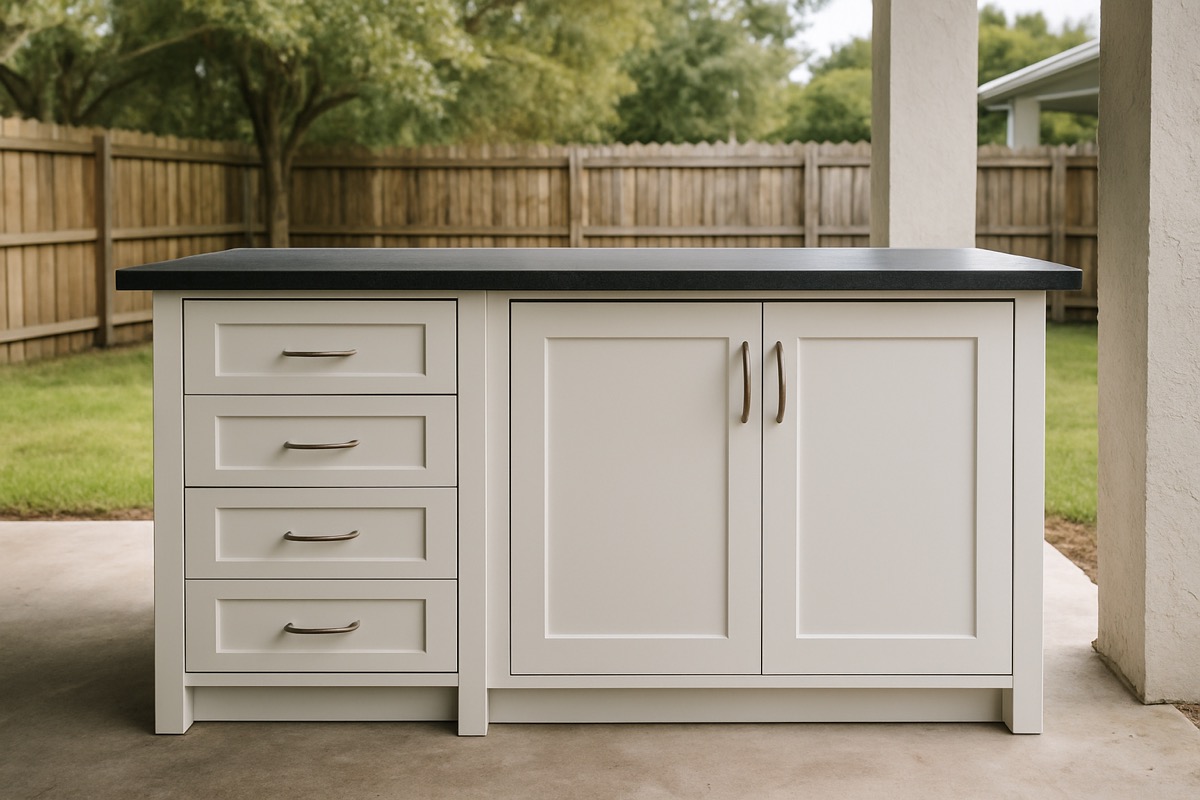
Drawers or doors? Both have a place in a well-planned outdoor kitchen. Here is how we help Orlando homeowners choose the right mix.